Physical Examination (Head to Toe) is a crucial medical procedure performed before establishing a diagnosis of a patient’s condition. There are 4 steps in the physical examination: inspection, palpation, percussion, and auscultation. Here is comprehensive information about the physical examination, including procedures and necessary tools. Let’s delve into the details!
What is a Head to Toe Physical Examination?
The Head to Toe Physical Examination is a mandatory medical procedure conducted before diagnosing a patient’s illness. However, prior to this, healthcare providers will conduct an anamnesis. Anamnesis is a brief interview between the patient/family and a doctor or other authorized healthcare provider to obtain information about the patient’s complaints and medical history
Besides that, before performing a head-to-toe physical examination, healthcare providers need to consider the psychosocial history. Psychosocial assessment evaluates the link between social conditions and mental health or emotions.
Now, what are the 4 Steps of the Head-to-Toe Physical Examination?
1. First, Inspection Step

The first step of the physical examination is through inspection. It involves visually observing and evaluating the patient. Experts say that this method is the oldest way to examine patients. Physical examination relies on the sense of sight and smell indirectly (with the help of tools).
Example inspection procedures include observing for swelling, lesions, color changes, or other pathological signs. Also observe breathing, chest movements, and the abdomen to assess breathing patterns and the possibility of retractions or additional respiratory efforts.
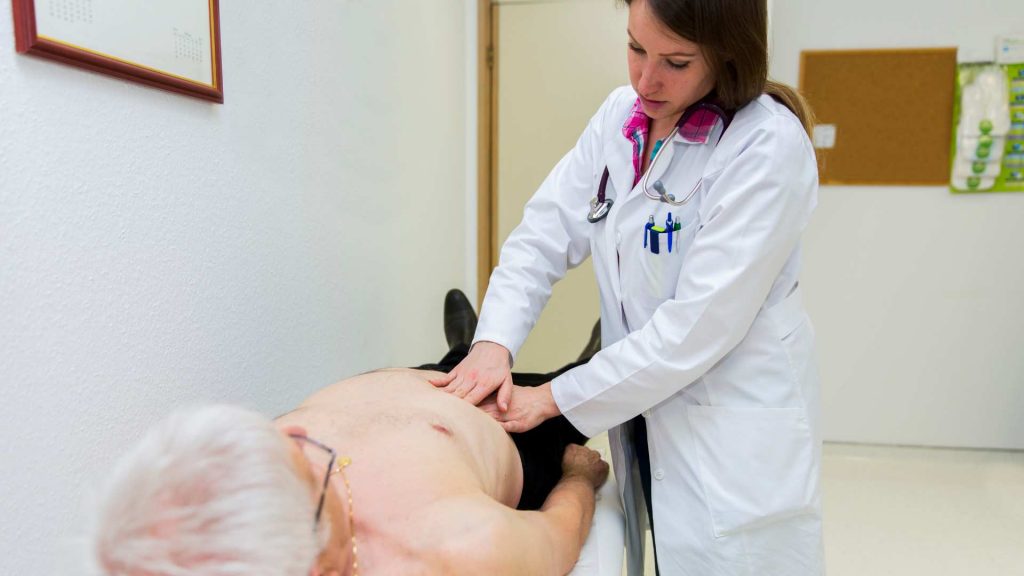
2. Palpation Procedure
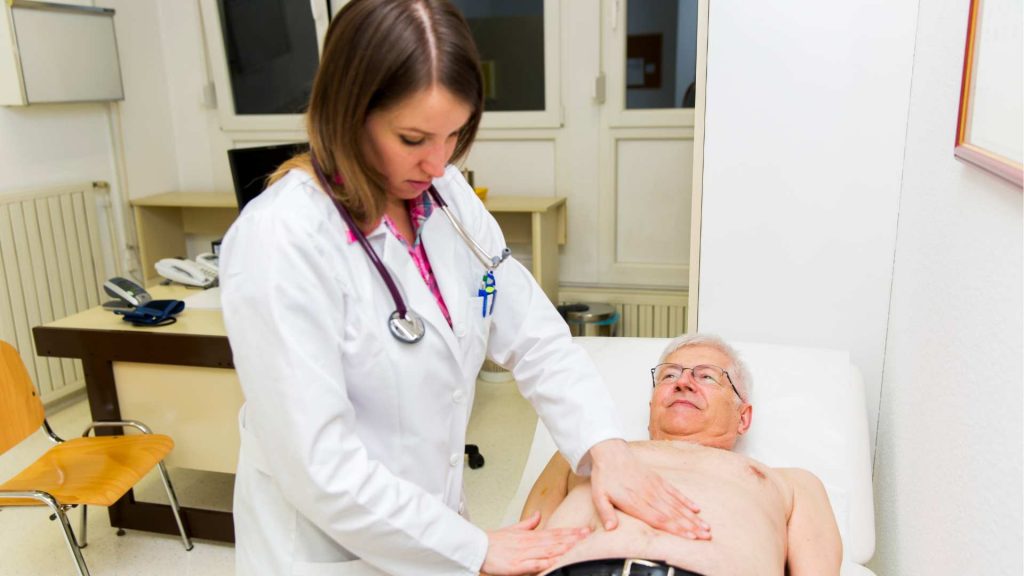
Palpation is an examination by touch or feeling with proprioceptive sensation of fingertips or hands. This procedure is the second step after inspection. Palpation procedures are used to assess internal organs in body cavities and can be done with one or two hands.
Example palpation procedures are as follows:
If you use two hands, the upper hand presses the lower hand 2-4 cm downward with circular movements. At the beginning of palpation, use light, superficial palpation, gentle, and useful to assess lesions on the surface or within muscles. Painful or uncomfortable areas will always be found in the last palpation.
3. Percussion Procedure
Percussion is the third procedure for examining patients by tapping the body surface to produce sound waves that travel along 5-7 cm below it. Below is an example percussion procedure on the distal interphalangeal joint or middle finger:
- Ensure the middle finger of the left hand is straight then push it backward
- Emphasize the distal interphalangeal joint closely on the surface to be percussed
- The right hand is positioned close to the surface, with the hand forming an arch upwards.
- The middle finger of the right hand is curved, relaxed, and ready to tap.
- The movement starts from the wrist.
- The tapping is done quickly and sharply, while the wrist remains relaxed.
- The tapping is directed at the distal interphalangeal joint.
- The purpose of this movement is to transmit vibrations through the joint bones to the area being percussed, thus producing sound.
- Use the fingertips to tap, and make sure the nails are cut short to prevent injury.
- Lift the finger quickly after tapping to avoid disrupting the vibrations produced.
4. Final Step, Auscultation

Auscultation is the last procedure in the physical examination. It is the skill of listening to body sounds in the lungs, heart, blood vessels, and internal organs or the abdominal viscera. Although generally auscultation is performed at the final stage, in the abdomen, auscultation is done after inspection before palpation and percussion, so that bowel sounds are not disturbed by palpation or percussion performed.
In auscultation, important sounds heard include sounds of air moving in the lungs, sounds produced by the chest and abdominal organs, and sounds of blood flow through the blood vessels. Auscultation is usually performed using a stethoscope.
Things to Consider in Physical Examination
To maximize the results of physical examination on patients, the main thing to consider is patient comfort. The level of patient comfort is determined in part by the facilities used.
The primary tool in Physical Examination is the Examination Table.
An examination table with the appropriate standard, namely the Ministry of Health standard, will increase the level of patient comfort during physical examination. Especially, in the Head Rise or the level of tilt on the examination table.
Using METRISIS Adjustable Examination Table with Head Rise 0-70 Degrees for Physical Examination
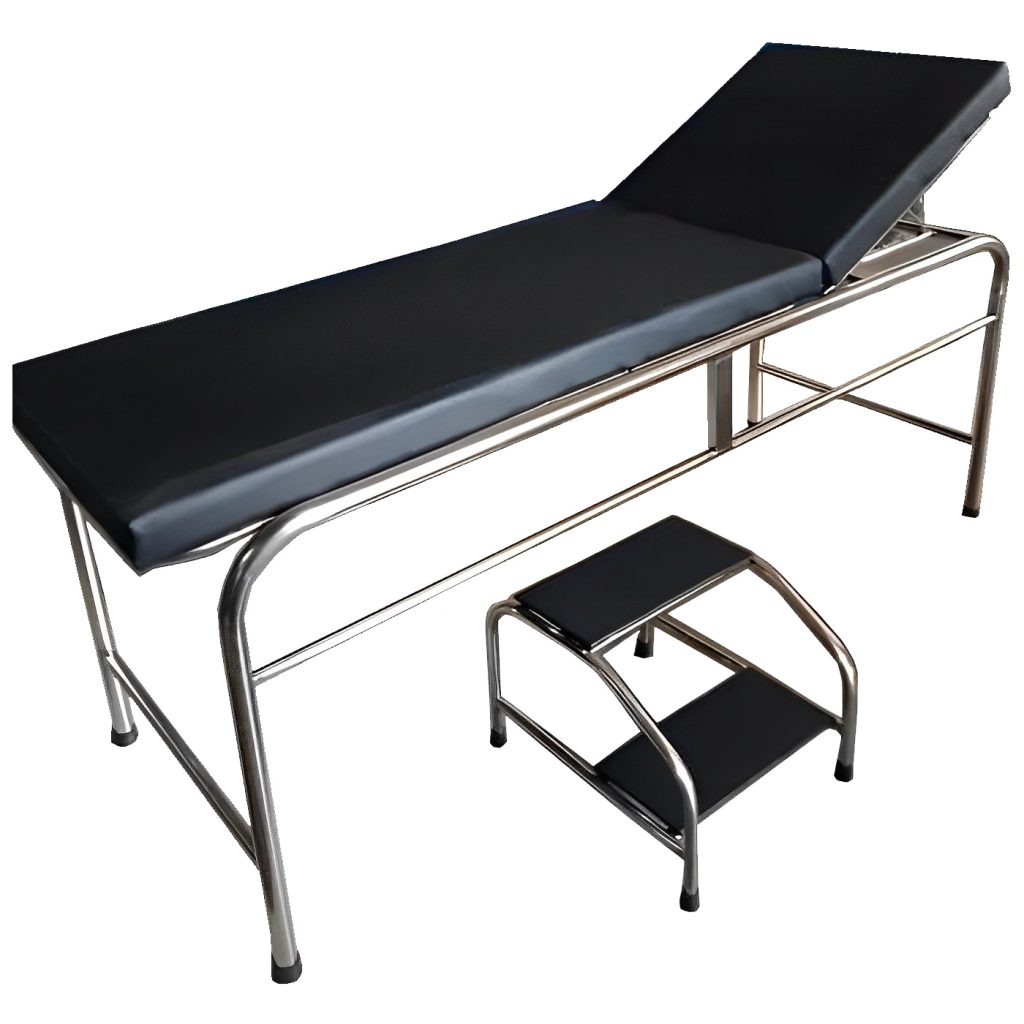
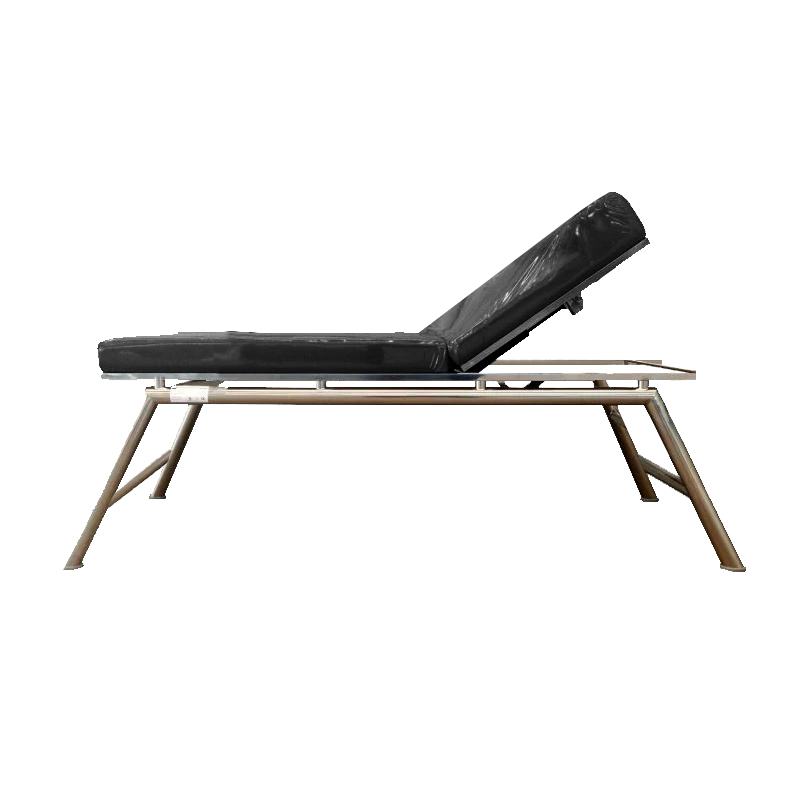
Head Rise or Head Elevation is one of the crucial factors to note in the design of examination tables to maintain their ergonomics or conformity with human body dimensions. An ideal Patient Examination Table’s head rise should have a range of head height from 0-70 degrees.
The 0-70 Degree range is commonly used to facilitate semi-reclining or semi-sitting positions during a patient’s physical examination. This size is the most comfortable for patients with respiratory problems or pneumonia or congestive heart failure because it can increase lung expansion.
Moreover, the METRISIS Examination Table’s Head Rise can also be adjusted according to the patient’s comfort level, thus enhancing patient comfort.
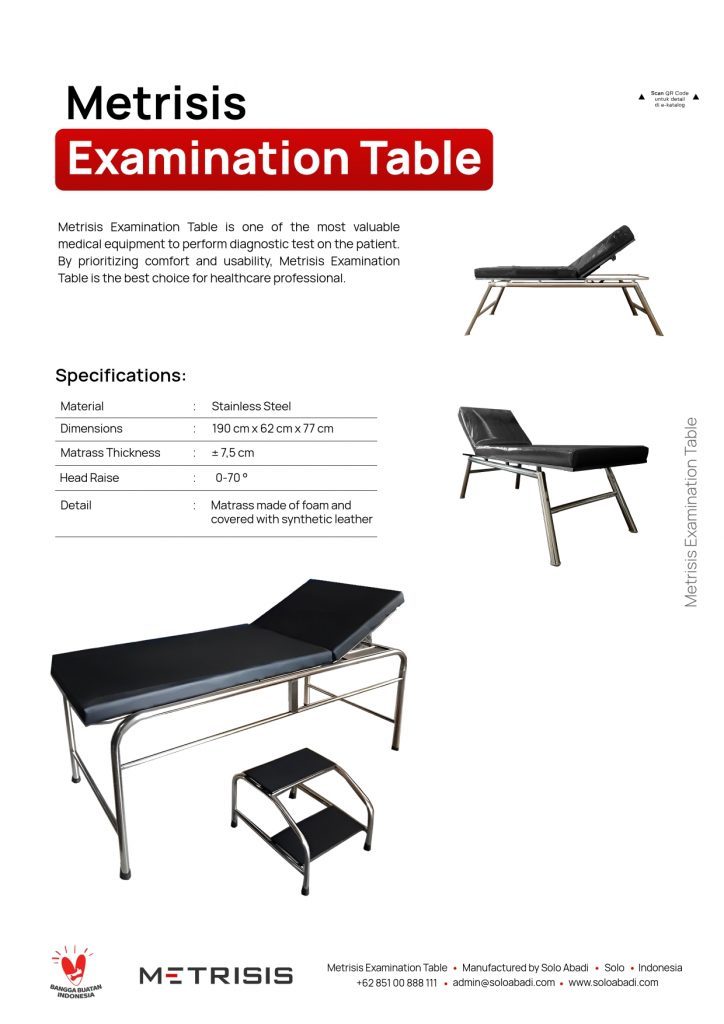
The METRISIS Patient Examination Table, or Examination Table, is designed by experienced technicians. Considering that METRISIS is the only brand specializing in Anthropometry or the measurement of human body dimensions for ergonomic purposes. Therefore, the design of the METRISIS examination table is in accordance with the guidelines of the Ministry of Health.
Get your Patient Examination Table for Physical Examinations and other Examination Sets at Solo Abadi
To maximize the KIA and KB examinations, Health Centers need to fulfill the needs for KIA and KB examination sets. PT. SOLO ABADI INDONESIA fully supports the government’s policy to reduce maternal and child mortality rates as well as stunting in Indonesia.
We have been trusted by the Ministry of Health of the Republic of Indonesia (KEMENKES RI) to deliver thousands of packages to over 1000 Integrated Health Posts (Posyandu) in Indonesia. We provide the most comprehensive set of KIA and KB examination instruments in Indonesia, standardized by the Ministry of Health, which you can access in our E-CATALOG!
Contact our admin via WhatsApp. Follow updates on the Solo Abadi website, www.soloabadi.com, for information on Stunting.